9 Ways Your Dental Curing Light Could Be Putting Composite Restorations at Risk
Curing lights are an indispensable tool in restorative dentistry.
While your curing light makes much of the bread-and-butter dentistry you perform every day possible, it also poses risks.
In this blog, we take a closer look at 9 risk factors for dental curing lights and recommend ways to reduce these risks for the best possible patient outcomes.
(We covered this topic in more detail in a recent webinar – request the recording here and watch it any time!)
Irradiance isn’t all that matters
Not every dentist knows their curing light intimately. But if they know just one key characteristic – and one thing that can make or break a restoration – it’s the light’s output or irradiance.
Measured in mW/cm2, or milliwatts per square centimeter, irradiance is a measure of your light’s output – in other words, a measure of the intensity of light that’s emitted.
This is the most basic, but essential characteristic of a curing light. You need to apply a certain amount of light energy to polymerize a composite material. So if your light’s irradiance is too low – and output is known to deteriorate through age and regular use – then its ability to cure materials is put at risk.
But, there are two key things dentists should bear in mind:
Your curing light’s irradiance may not match the stated irradiance the manufacturer provides
Testing your curing light will tell you its irradiance, but it is not the only characteristic of your light that matters
For that reason, we want to go beyond just irradiance. What else should dentists know about their curing lights?
Read on for nine risk factors that could affect the longevity and success of your composite restorations.
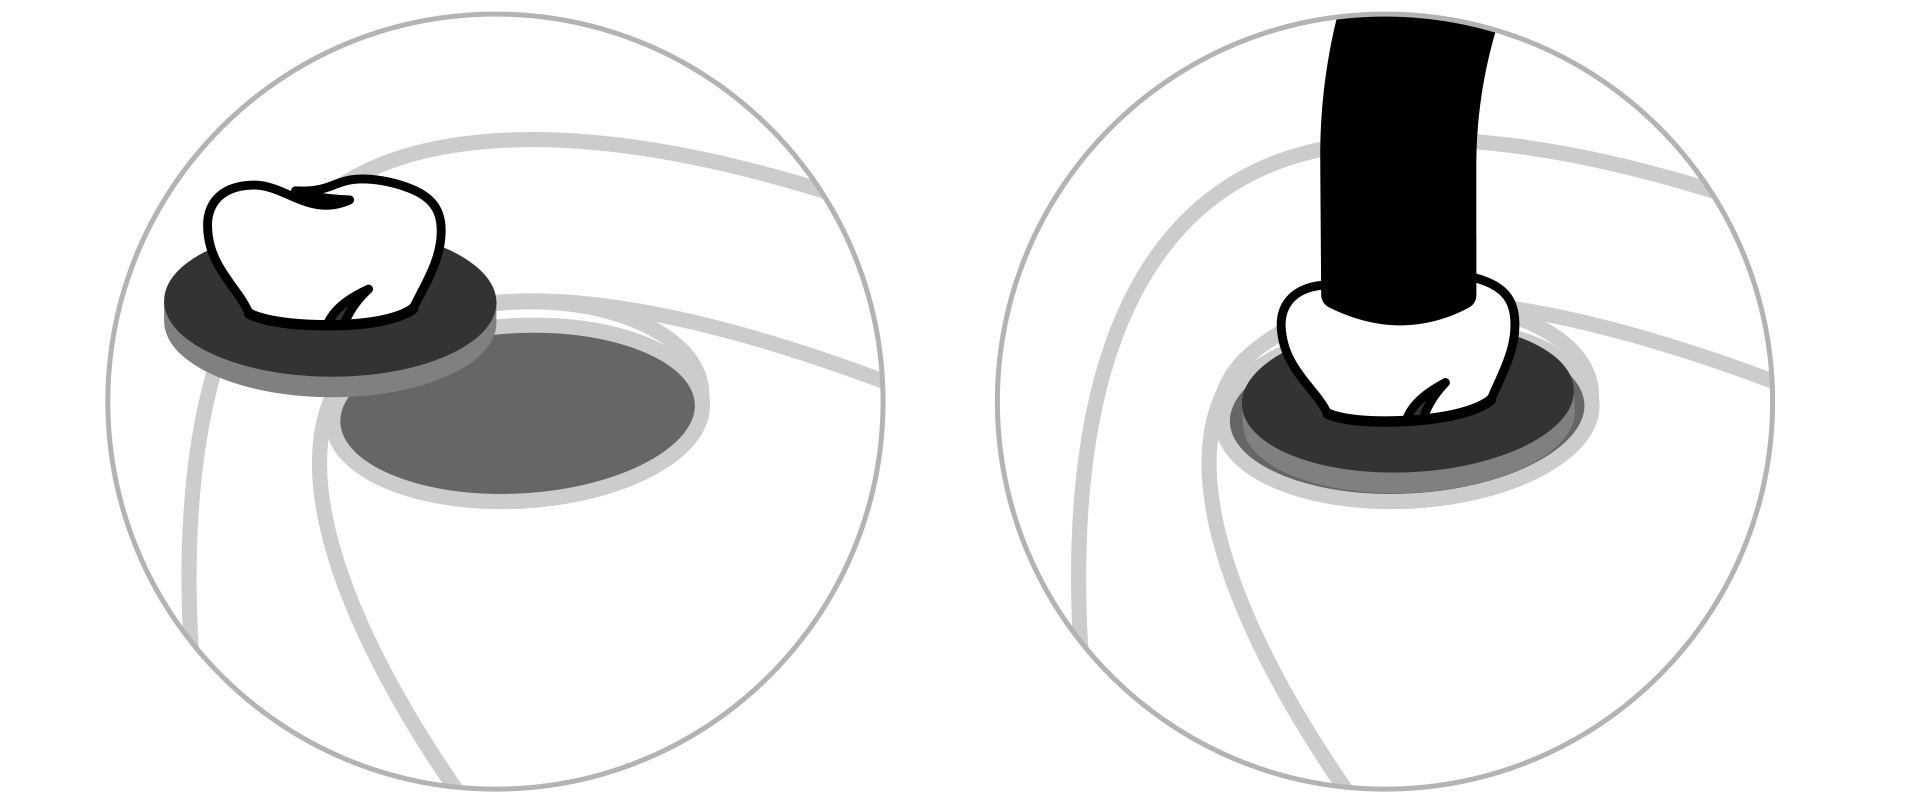
The tip size is critical for a curing light because it dictates where the active part of your light output is over the curing area.
If you have a smaller light tip and larger restoration area, you might not cover the entire area that needs to be light-cured.
To counteract this effect, overlap the curing areas to ensure the whole surface receives the light output. Increasing the light tip size can also minimize this risk.

The guide angle dictates where the light tip delivers the light output. If your curing light's guide angle is too high, objects or anatomy can obstruct the light from reaching the restorative surface.
You can reduce this risk by curing from the opposite angle. Lower profile guide angles also mitigate this effect.
The beam profile refers to the distribution of the light from the tip. Some lights emit uniformly, but others have "hot spots" surrounded by areas of less concentration.
Moving the light around and circulating between hot and cold spots can increase the uniformity of light energy delivered. When using this technique, you may need to increase the curing time to ensure the entire material surface has enough time in the hot spot to cure.
Materials contain photoinitiators that need specific wavelength ranges (measured in nanometers) to polymerize.
When the light spectrum doesn’t match the material spectrum closely, the curing process becomes inefficient and you risk undercuring the composite.
You can compensate for lower efficiency by curing for longer, but it’s recommended that you cure with light and material combinations that you know are compatible.
See how your lights and materials interact in our curing time calculator >
Curing light output diminishes with distance. The farther you are from the curing surface, the lower the light's intensity will be.
Being aware of the distance between the light and the material will help you ensure the proper amount of energy is applied to the material. If you’re unable to bring the light closer to the curing surface, you can increase the curing time.
A better solution is to test your light at both 0mm and a clinically relevant distance such as 6mm, for a greater understanding of how quickly irradiance drops off.
Request a CheckMARC test and see how your light performs at 6mm >
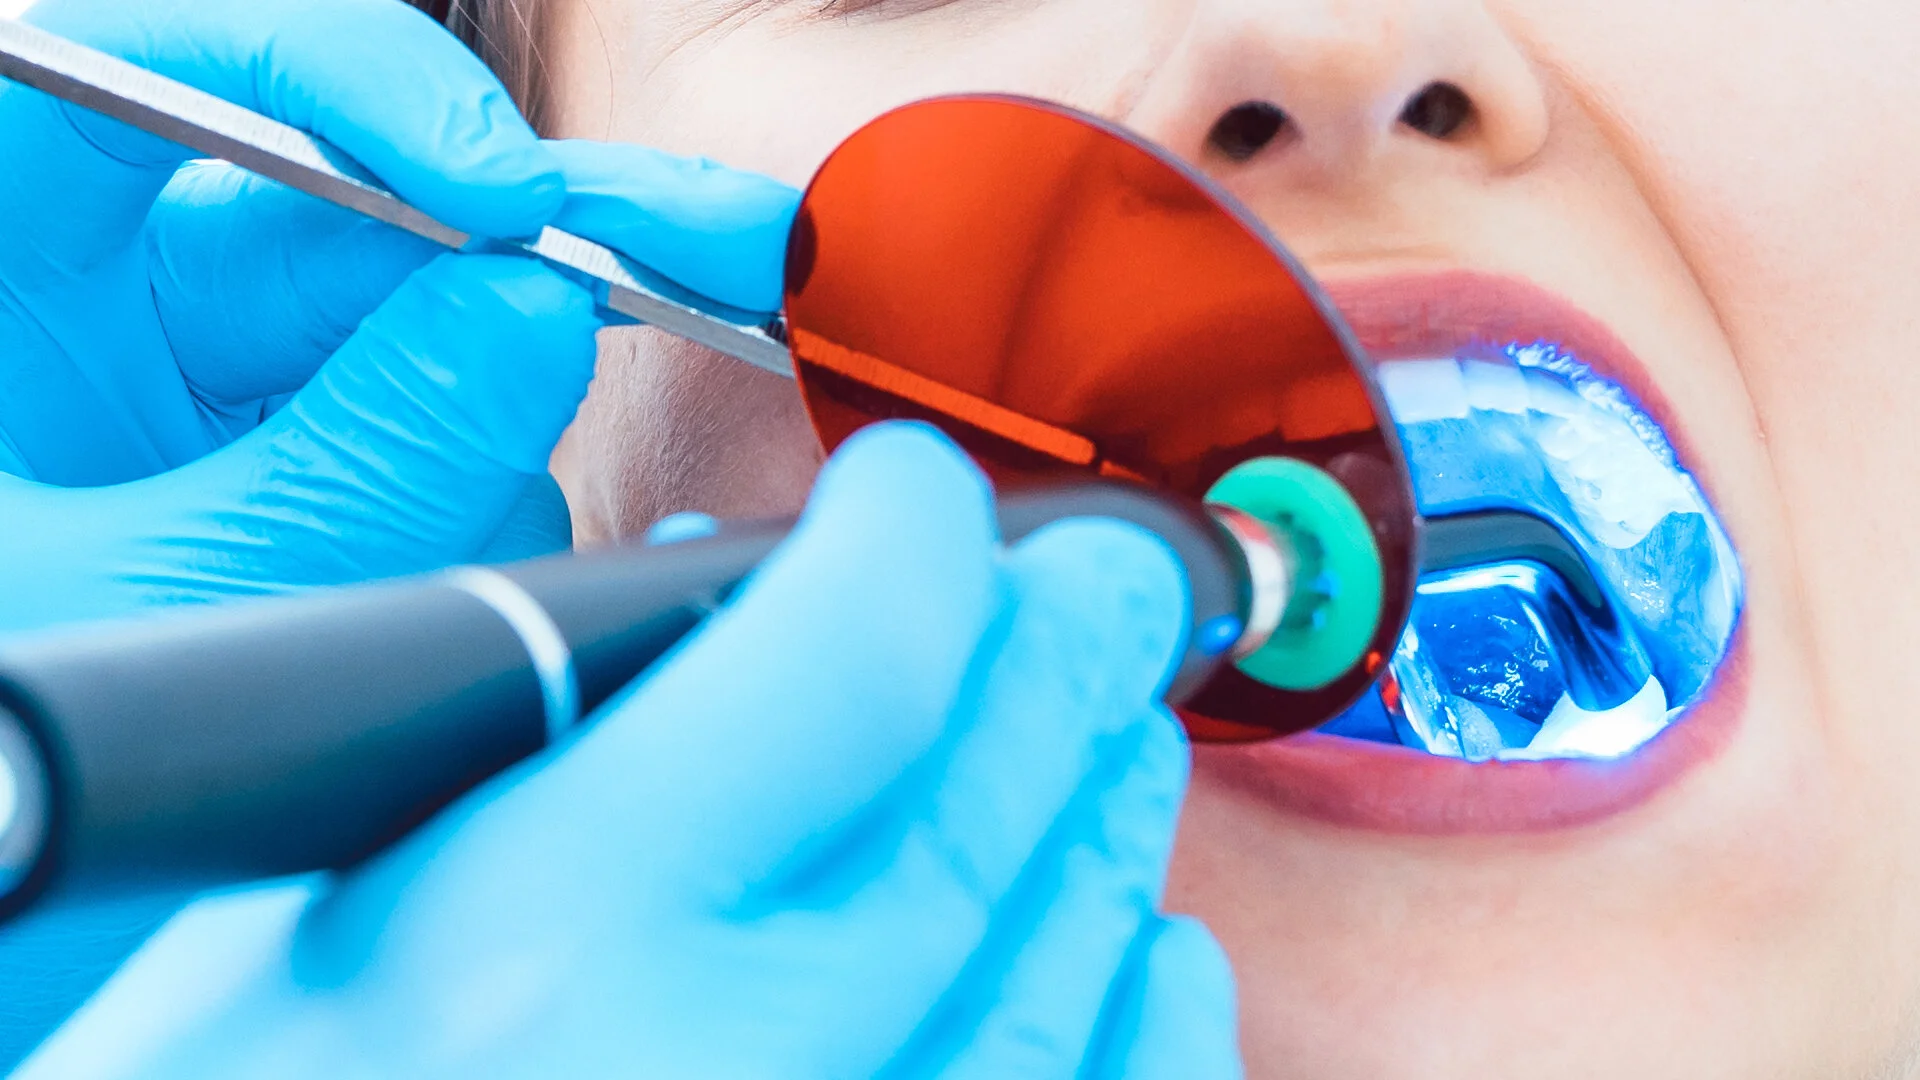
The most reliable light in the world won’t save you if you’re not using proper light-curing techniques!
Wearing eye protection and keeping the light steady and in place are critical factors for optimal outcomes.

While you cannot overcure materials, heat damage can occur in a patient’s soft tissue if you have a high-output curing light or are curing for prolonged periods.
In these circumstances, you should break the curing time into multiple sessions and exposures, especially when the light overlaps the gingiva or vulnerable pulp chambers.
Learn more about CheckUp which warns of potential heat concerns for your lights >
Using infection control barriers has become essential since the start of the COVID-19 pandemic. However, studies have shown that they can decrease a light’s output.
You should test your curing light with an infection control barrier in place to determine how it affects the light’s output and adjust your technique to accommodate for any loss.
Learn how infection control barriers impact curing light performance >

Scratches on the tip, damage to other parts of the light, and debris or composite stuck to the tip all decrease a light's output.
You should check your light regularly for wear and tear, and clean debris from the tip before using the light to cure.
Reduce dental curing light risks with CheckUp
In summary, curing lights can be more complicated than they seem!
But many of the risk factors listed above can be reduced or removed when you know the exact output of your curing light. Testing daily or weekly is advised, but even testing once a month is better than not testing at all.
When it comes to light testing, CheckUp makes it easy. Tests are quick to complete and the results are stored automatically. These real-time readings are analyzed to give you personalized insights and precise curing times for your specific light and material combinations.
The result is reduced risk and more predictable light curing. Learn more about CheckUp by clicking below or request a demo to see it in action.
